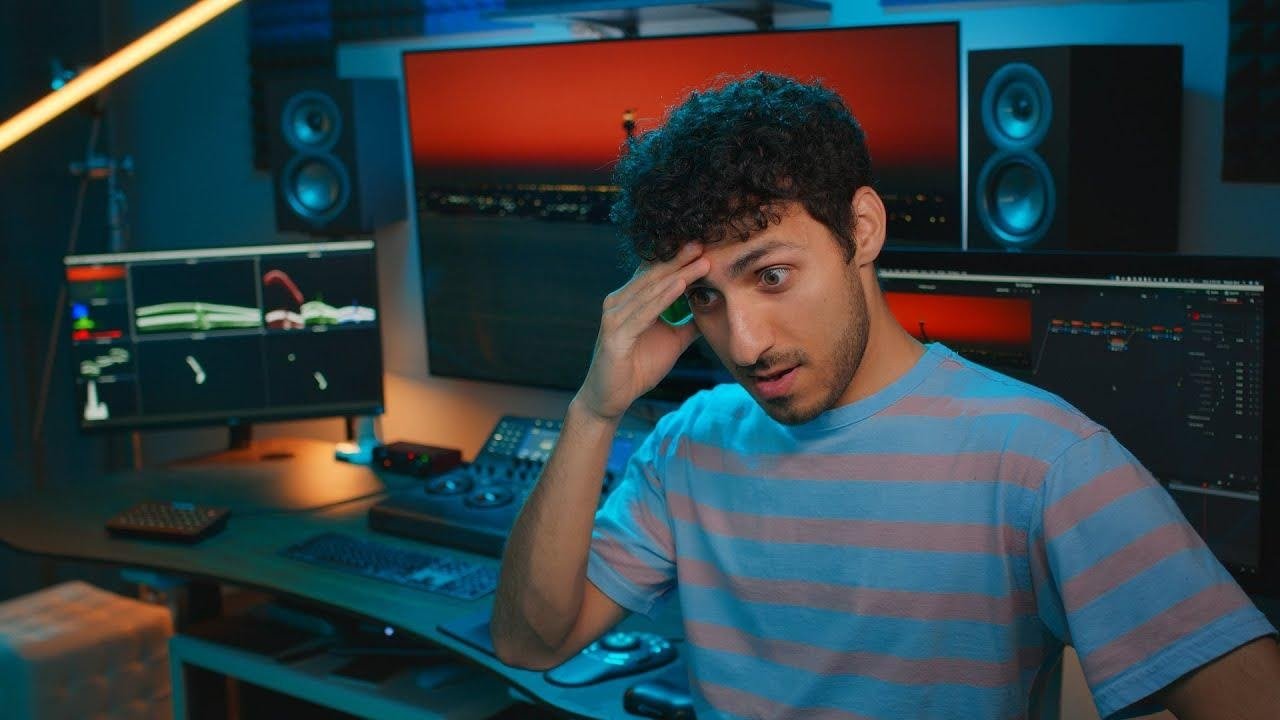
Five Mistakes to Avoid as a Beginner Colorist

Today we are discussing five mistakes to avoid as a beginner colorist.
The first is spending way too much time on one shot. As beginners, we want to make every shot perfect or crazy, but if it’s not the hero shot, or we spend too much time focusing on that one shot, we will burn out quickly.
The second is being too hard on yourself. Color grading is probably the most subjective part of the post-production workflow. So cut yourself some slack, listen to your gut, and avoid unnecessary critique.
The third is to not start out with LUTs. I know, some of you may hate me, but you need to practice with all the tools. LUTs limit your vision. You need to know how each tool works and reacts to create the image you want. Once you learn that, you can start playing with LUTs.
The fourth is don’t use look plugins. You will start getting lazy and relying on them, but also a lot of the time you are working on site and the clients don’t want to pay for it.
The fifth and final mistake is no patience. People want to become a colorist overnight. They don’t understand the basics and that will come back to haunt them.
With all that, work hard, get obsessed, get possessed.
MORE LIKE THIS
Explore the beginner, intermediate, and pro stages of color grading. Learn essential techniques, tools, and workflows to elevate your skills.
Streamline your color grading process with this shot-matching pro hack. Learn how to use group clips in DaVinci Resolve to match shots faster and ensure seamless consistency across sequences.
Dive into the world of Hanumankind's Big Dawgs and uncover the secrets behind its incredible color grading. From monochromatic tones to detailed highlights, we’ll break it all down step by step.
Fix your vignettes with this guide to professional techniques in DaVinci Resolve. Avoid common beginner mistakes and master subtle, cinematic effects with ease.
Discover how to achieve the clean white look, a must-have skill for colorists. Compare traditional and refined methods using QT Tools for a polished, balanced result.
Master color grading with pro techniques! Learn split toning in DaVinci Resolve, top budget monitors, and setting black levels for SDR content.
Recreate iconic Hollywood bokeh with DaVinci Resolve’s Defocus Background OFX. Achieve cinematic softness and depth with practical post-production techniques.
Discover Qazi's Toolkit for DaVinci Resolve—a comprehensive bundle with advanced tools like QT Charts and Look DNA to create stunning Hollywood-style looks.
Discover why Neat Video, a decade-old noise reduction plugin, outperforms DaVinci Resolve's latest AI-based UltraNR. Learn how to achieve professional results with advanced techniques, compare methods, and optimize performance for flawless footage.
Mastering color grading doesn’t have to be complicated. With just seven essential nodes, you can create professional-grade results while maintaining a streamlined workflow. From setting the tone with the IDT (Input Device Transform) to adding cinematic textures, this guide covers everything you need to get started.


